
Most people don’t think about their battery cables until something goes wrong.
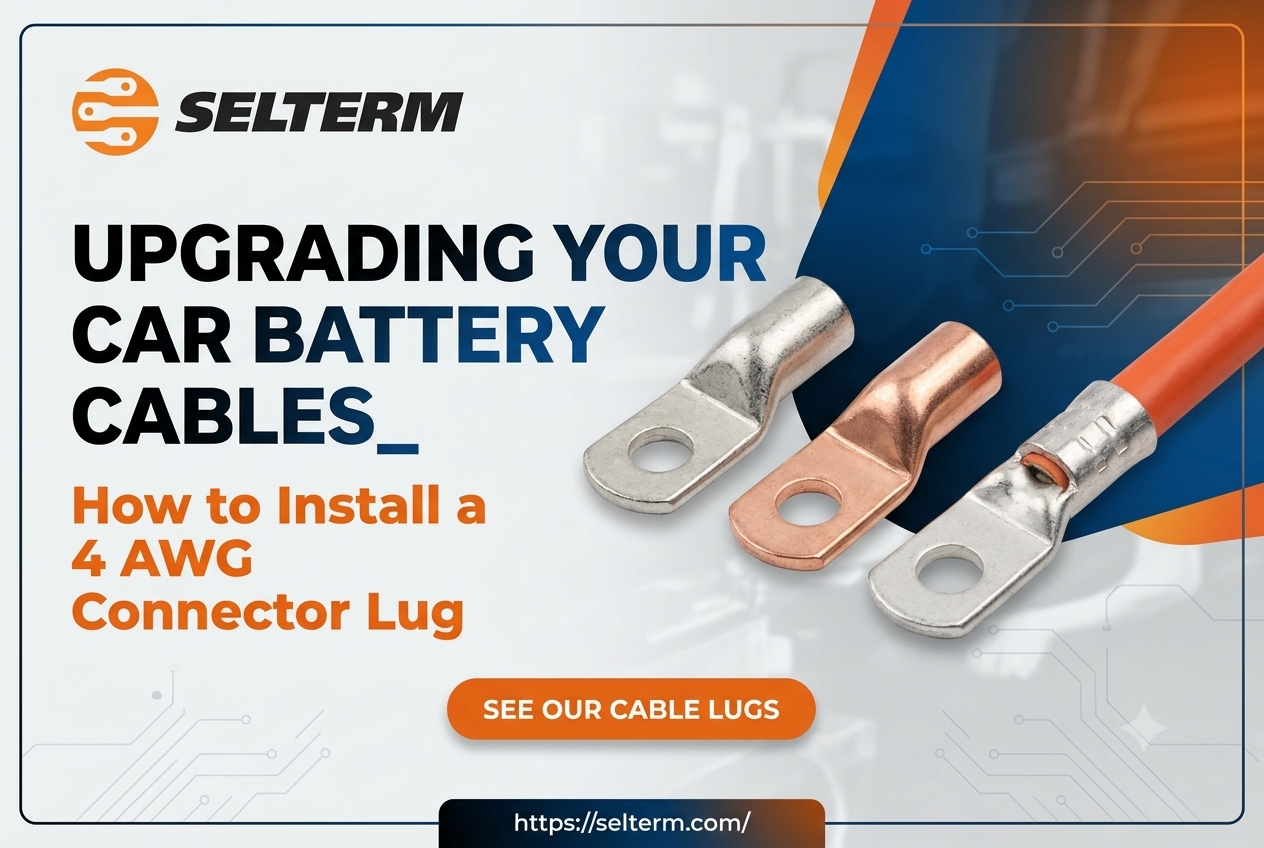
Upgrading to a proper 4 awg connector lug and installing it correctly is one of those jobs that takes maybe an hour, costs very little, and makes a noticeable difference in how the whole electrical system behaves. Whether you’re replacing a failed original terminal, building custom battery cables for a performance vehicle, or wiring up a secondary battery in a truck or van, the process is the same.
Here’s how to do it right.
Why 4 AWG Comes Up So Often in Car Builds
Four-gauge copper wire handles roughly 85 to 100 amps in most automotive wiring scenarios — more on shorter runs, a bit less if the cable is bundled with others or running through a hot compartment. That range covers a pretty wide slice of what people actually need in a car or truck.
Main battery-to-starter cables on smaller engines. Ground straps from the battery to the chassis. Alternator output cables. Secondary battery wiring for auxiliary power setups in overlanding rigs and work trucks.
What You’ll Need Before You Start
Getting everything together before you disconnect anything saves a lot of time & energy. There’s nothing worse than having a car battery disconnected in the driveway and realizing you left the crimper in the garage.
For this job you’ll want:
- 4 awg wire lugs in the correct stud size for your application — common sizes are 5/16″ for battery posts and 3/8″ for larger terminals, so check your specific hardware before ordering
- A ratcheting hex crimp tool rated for 4 AWG
- Wire cutters or cable shears heavy enough to cut 4 AWG cleanly
- A wire stripper that handles 4 AWG, or a sharp utility knife
- Dual-wall adhesive-lined heat shrink tubing in the right diameter for 4 AWG cable
- A heat gun — a lighter works in a pinch but a heat gun gives you much more control
- A basic wrench or socket set for the terminal bolts
- Safety glasses
Measuring and Cutting the Cable
Before you cut anything, route the cable the way it’s actually going to sit in the finished install. Don’t cut it at the workbench and then try to make it fit — measure in place.
When you cut 4 AWG cable, the strands tend to fan out at the cut end. Before you do anything else, twist the end of the cable clockwise — just a firm twist with your fingers — to gather all the strands back together. If a few straggle out, tuck them back in. You want a clean, tight bundle before it goes into the lug barrel.
Stripping the Insulation
The amount of insulation you remove depends entirely on the specific lug you’re using. Different 4 awg Wire lug models have different barrel depths — the length of the barrel that the wire actually sits inside. Strip too little and the wire won’t seat fully. Strip too much and you’ll have bare copper sticking out past the barrel, which is a short circuit waiting to happen.
The easy way to figure out the right strip length: hold the lug next to the cable end and mark where the barrel ends with a piece of tape or a marker. That’s your target.
Seating the Cable in the Lug
Slide a piece of heat shrink tubing onto the cable before you crimp. Sounds obvious, but it’s genuinely one of the most common mistakes people make — they do a perfect crimp and then realize the heat shrink is still sitting on the workbench.
Push the stripped cable end fully into the lug barrel. Every strand needs to be inside. Not mostly inside, not almost inside — completely inside, with no copper visible beyond the barrel entry point.
The Crimp
Set your ratcheting hex crimper to the 4 AWG die size. Position the barrel of the lug in the crimper jaws — centered, not near either end of the barrel — and squeeze.
A ratcheting crimper won’t open back up until the crimp is complete. That’s the point. It guarantees you’ve applied enough force to do the job properly. When it releases, the barrel should be visibly compressed and the lug should feel solidly attached to the cable. Give the cable a firm tug. It should not move at all.
Sealing the Connection
Slide the heat shrink tubing up over the barrel. It should cover the entire crimped section of the lug plus at least half an inch of cable insulation on the wire side. That overlap onto the insulation is important — it provides strain relief so the cable can’t flex right at the edge of the crimp.
Apply the heat gun, starting from the middle of the heat shrink and working outward toward both ends. Watch for the adhesive to melt and start flowing out from the ends — that’s what creates the actual waterproof seal. Keep moving the heat gun so you don’t burn through the tubing.
When it’s done, the heat shrink should be tight against the cable insulation and the lug barrel with no air pockets or lifted sections. The adhesive that flowed out from the ends should be visible as a small ring around both edges of the tubing.
Let it cool completely before bending the cable or installing the lug. The adhesive needs a minute to set.
Installing the Lug on the Terminal
Place the lug ring over the bolt or stud. If the ring feels sloppy — if it can rock back and forth on the stud — the stud size is smaller than the lug hole. You want a reasonably snug fit. Some movement is fine. Significant slop is not.
Don’t tighten until the bolt strips. It’s a more common mistake than you’d think, and replacing a stripped battery terminal is a frustrating job that you don’t want to do twice.
After tightening, reconnect the negative terminal — negative last when reconnecting, opposite of how you disconnected — and test the system.
A Few Things That Catch People Out
Using the wrong stud size is one of the most common ordering mistakes. The lug fits the wire gauge, but the ring has to match the bolt. Measure the bolt diameter before you order, or pull the old terminal and bring it with you.
And over-stripping — leaving bare copper exposed beyond the barrel — creates a spot where the wire can short against adjacent metal. Even a small section of bare copper in an engine bay is worth fixing properly rather than wrapping in electrical tape and forgetting about.
FAQ
Can I solder a 4 AWG connector lug instead of crimping it?
Crimping with a hydraulic tool works much better for vehicle cables. Solder wicks up into the wire strands, making the cable stiff right behind the lug. Over time, engine vibration can snap those stiff strands right where the solder stops. A mechanical hex crimp stays flexible and handles road shock much better.
What size ring hole do I need for my battery terminal?
That depends on your specific terminal studs. Most standard top-post battery terminal clamps use 5/16-inch or 3/8-inch studs. Side-post batteries usually take a 3/8-inch ring eyelet. Measure the bolt diameter on your terminal clamp or busbar before ordering lugs.
Is Copper-Clad Aluminum (CCA) wire okay to use with 4 AWG copper lugs?
Avoid CCA for main battery cables if you can. Copper-clad aluminum carries roughly 30% less current than pure copper and corrodes quickly when exposed to engine bay moisture. Match pure copper lugs with 100% oxygen-free copper (OFC) wire for reliable power flow.