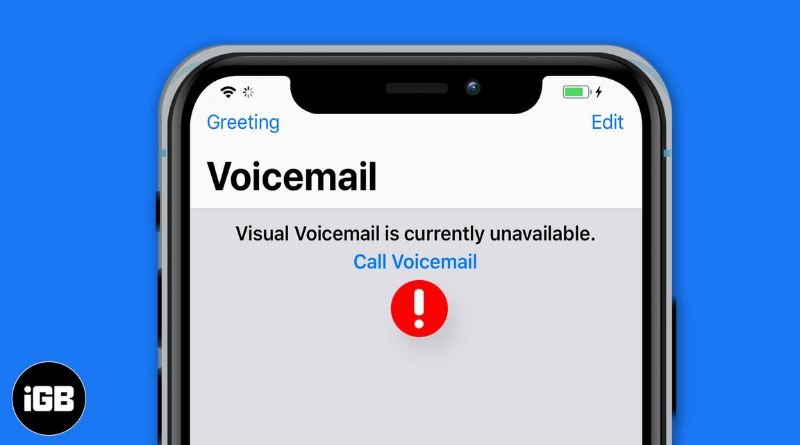
What Is Visual Voicemail? The Complete Feature Guide
Visual voicemail has become increasingly popular over the past several years, with many smartphone users moving away from old-fashioned voicemail and using visual voicemail services instead. What exactly is visual voicemail, though? What makes it different from the traditional method of checking your messages and how can you get started using this helpful feature? This guide answers these questions and more so that by the end you’ll know all about visual voicemail, including how to set it up and use it on your phone.
Visual voicemail
There’s not much worse than missing an important voicemail. But now, with visual voicemail, you don’t have to worry. You can get a text transcript of the voicemail, too. Here’s what you need to know about visual voicemail:
– This service is available through your cell phone provider and some VOIP providers. Be sure to check the service available with your provider before signing up! If you have T-Mobile or Verizon Wireless, chances are good that you’ll be able to use visual voicemail for free. However, if you’re using AT&T or Sprint, then it will cost money each month– $2-$4 per month depending on your carrier–to access this service. Some other companies such as Vonage also offer this feature for a monthly fee.
No matter which carrier/VOIP provider you’re on, be sure to double-check what they offer so that there are no surprises in terms of costs when signing up for this feature.
Set up visual voicemail
A voicemail can be easily accessed through a person’s cellular phone and allow them to know who left the message and when. If a customer is going to be unavailable for an unknown amount of time, they can call ahead or leave a voice message with their name or number on it to access later. This service gives people convenience while they’re away from their phones by allowing them to store messages in a place where they will have time to retrieve them. All carriers have this service.
The visual verification mail only has an added cost depending on what carrier the customer is using. Most carriers charge $3 per month per line or the price of standard voicemail fees plus $3 per month, which is added onto the monthly bill each month without any hidden charges attached.
Review voicemails on your Android device
To check your voicemails, tap on the phone icon at the bottom of your screen. This will bring up your Recent calls list, which includes both Outgoing and Incoming voicemails. To play a voicemail, tap on the voicemail you want to hear and wait for it to load. Once the message has loaded, hit play or swipe right to play it in full-screen mode (if available). Hit end when you’re done playing a voicemail to save time. Now that you know how to get into your voicemails, let’s talk about some other features that make this app great! You can also delete individual messages by tapping on them from within the list and then selecting Delete. If you ever want to change any settings related to voicemail – such as whether messages are automatically saved – just open the app menu and select Settings. Here you’ll find an easy way to manage your account settings, delete all saved messages, turn off visual voicemail if desired, and even turn off notifications related to new messages.
Get voicemail transcriptions on your iPhone
– Now you can access the transcriptions of your voicemails in an even easier and more convenient way. By tapping the Transcription button, you can now instantly listen to a voice reading back the words that your caller said when they left their message for you. This will help save time because there’s no need to repeatedly listen to a voicemail that you already know what it says.
– Transcriptions are saved for only two weeks after a new voicemail arrives.
– It’s important to note that messages won’t be transcribed if they were received via Facetime, iMessage, WhatsApp or any other messaging app from your phone because those messages come through using data and not the telephone network.
Turn on visual voicemail
- Open the Phone app and tap on your own profile at the top left of the screen. Select Settings in the slide-out menu that appears on the right side of your screen.
- Turn on visual voicbrifrom by tapping Voicemail settings under Call settings. Slide up from where it says Visual voicemail is off. When you slide up, you’ll see an option that reads, A device running iOS 10 or later will show this option (iPhone 6S and up). Tap that button to turn on visual voicemail for this iPhone. If your phone doesn’t support iOS 10 yet, you can enable visual voicemail using a computer. If you’re using a Mac, go to FaceTime preferences > Edit > select Add New Account… > and then choose Voicemail number as the type of account. If you’re using Windows PC, select add new account… in the same place as on a Mac and choose Voice mail number as the type of account.
Now that your phone has been set up with visual voicemail enabled: when someone leaves a message for you, just check their caller ID icon at the bottom left corner of your lock screen to listen to them.
Change visual voicemail settings on iPhone
iPhone users can change their voicemail settings by following these steps:
- Tap the Settings icon from the Home screen. 2. Scroll down and tap on Phone. 3. Then select Voicemail from the left-hand menu that displays a list of items including Fax, Call Forwarding, Carrier Services, etc. 4. If you want to access visual voicemail for someone else’s phone number, you can scroll down to the option labeled as Visual Voixcall, then enter their cell phone number in the required field on your iPhone (you will need to know their account password). 5. Once you’ve tapped on Visual Voicemail, you’ll be able to set up your preferences for which calls should automatically download when they come in. These include Incoming Calls, Outgoing Calls, All Unheard Voice Messages, Missed Calls or All Unheard Voice Messages and Missed Calls. You’ll also be able to adjust the length of time before new messages are automatically deleted and determine how many total voice messages should be stored at any given time. You may also choose whether or not voice mail is accessible via Voice Control (a feature enabled through Siri) or through a button press while viewing other screens such as Notification Center or Lock Screen with Control Center enabled.
Check out other helpful articles about visual voicemail
-This T-Mobile help page gives you the basics of using Visual Voicemail. -Plus, this post shares how you can use visual voicemail on your iPhone as well. -This Verizon phone help page explains to you what visual voicemail is and shows how it differs from traditional voicemail. And this Sprint guide will show you the steps for listening to your messages with visual vocab your service and get detailed info about when your messages were left. Plus, they have a video demonstration!


